Step-By-Step Installation Guide For Ducabike Clutch On Your Motorcycle
The Ducabike clutch is a high-performance aftermarket accessory that can greatly improve the performance and feel of your motorcycle. With its precise engineering and quality construction, installing the Ducabike clutch on your bike is a relatively straightforward process. Here is a step-by-step installation guide to help you get started.
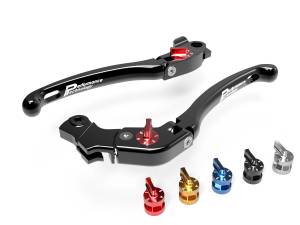
Step 1: Gather the necessary tools and materials. You will need a set of Allen wrenches, a torque wrench, a clutch holding tool, a service manual for your specific motorcycle model, and the Ducabike clutch kit. If you are looking for the best quality Ducabike clutch then, you can check this site.
Step 2: Begin by removing the clutch cover on your motorcycle. Consult your service manual for the exact process, as it may vary depending on your bike's make and model.
Step 3: Once the clutch cover is removed, use the clutch holding tool to prevent the clutch from spinning while you loosen the clutch hub nut. This nut is usually located in the center of the clutch assembly.
Step 4: Install the Ducabike clutch hub, plates, and friction discs in the same order and orientation as the original components. Make sure everything is properly aligned and seated.
By following this step-by-step installation guide, you can successfully install a Ducabike clutch on your motorcycle. However, if you are unsure or uncomfortable with any step of the process, it is always best to consult a professional mechanic for assistance.